Heat Pump Repair in Stevensville, MD
Heat pump repair in Stevensville, MD requires understanding coastal challenges and using a structured diagnostic approach. This page outlines common failure symptoms, how technicians diagnose problems, typical components repaired, expected timelines, warranty considerations, emergency response options, and what to expect when scheduling service. It also covers preventive maintenance to extend equipment life, cost drivers, and guidance for choosing between repair and replacement, helping homeowners protect comfort and energy efficiency in Maryland’s humid, salt-air climate, and ensure reliable performance year-round.
Heat Pump Repair in Stevensville, MD
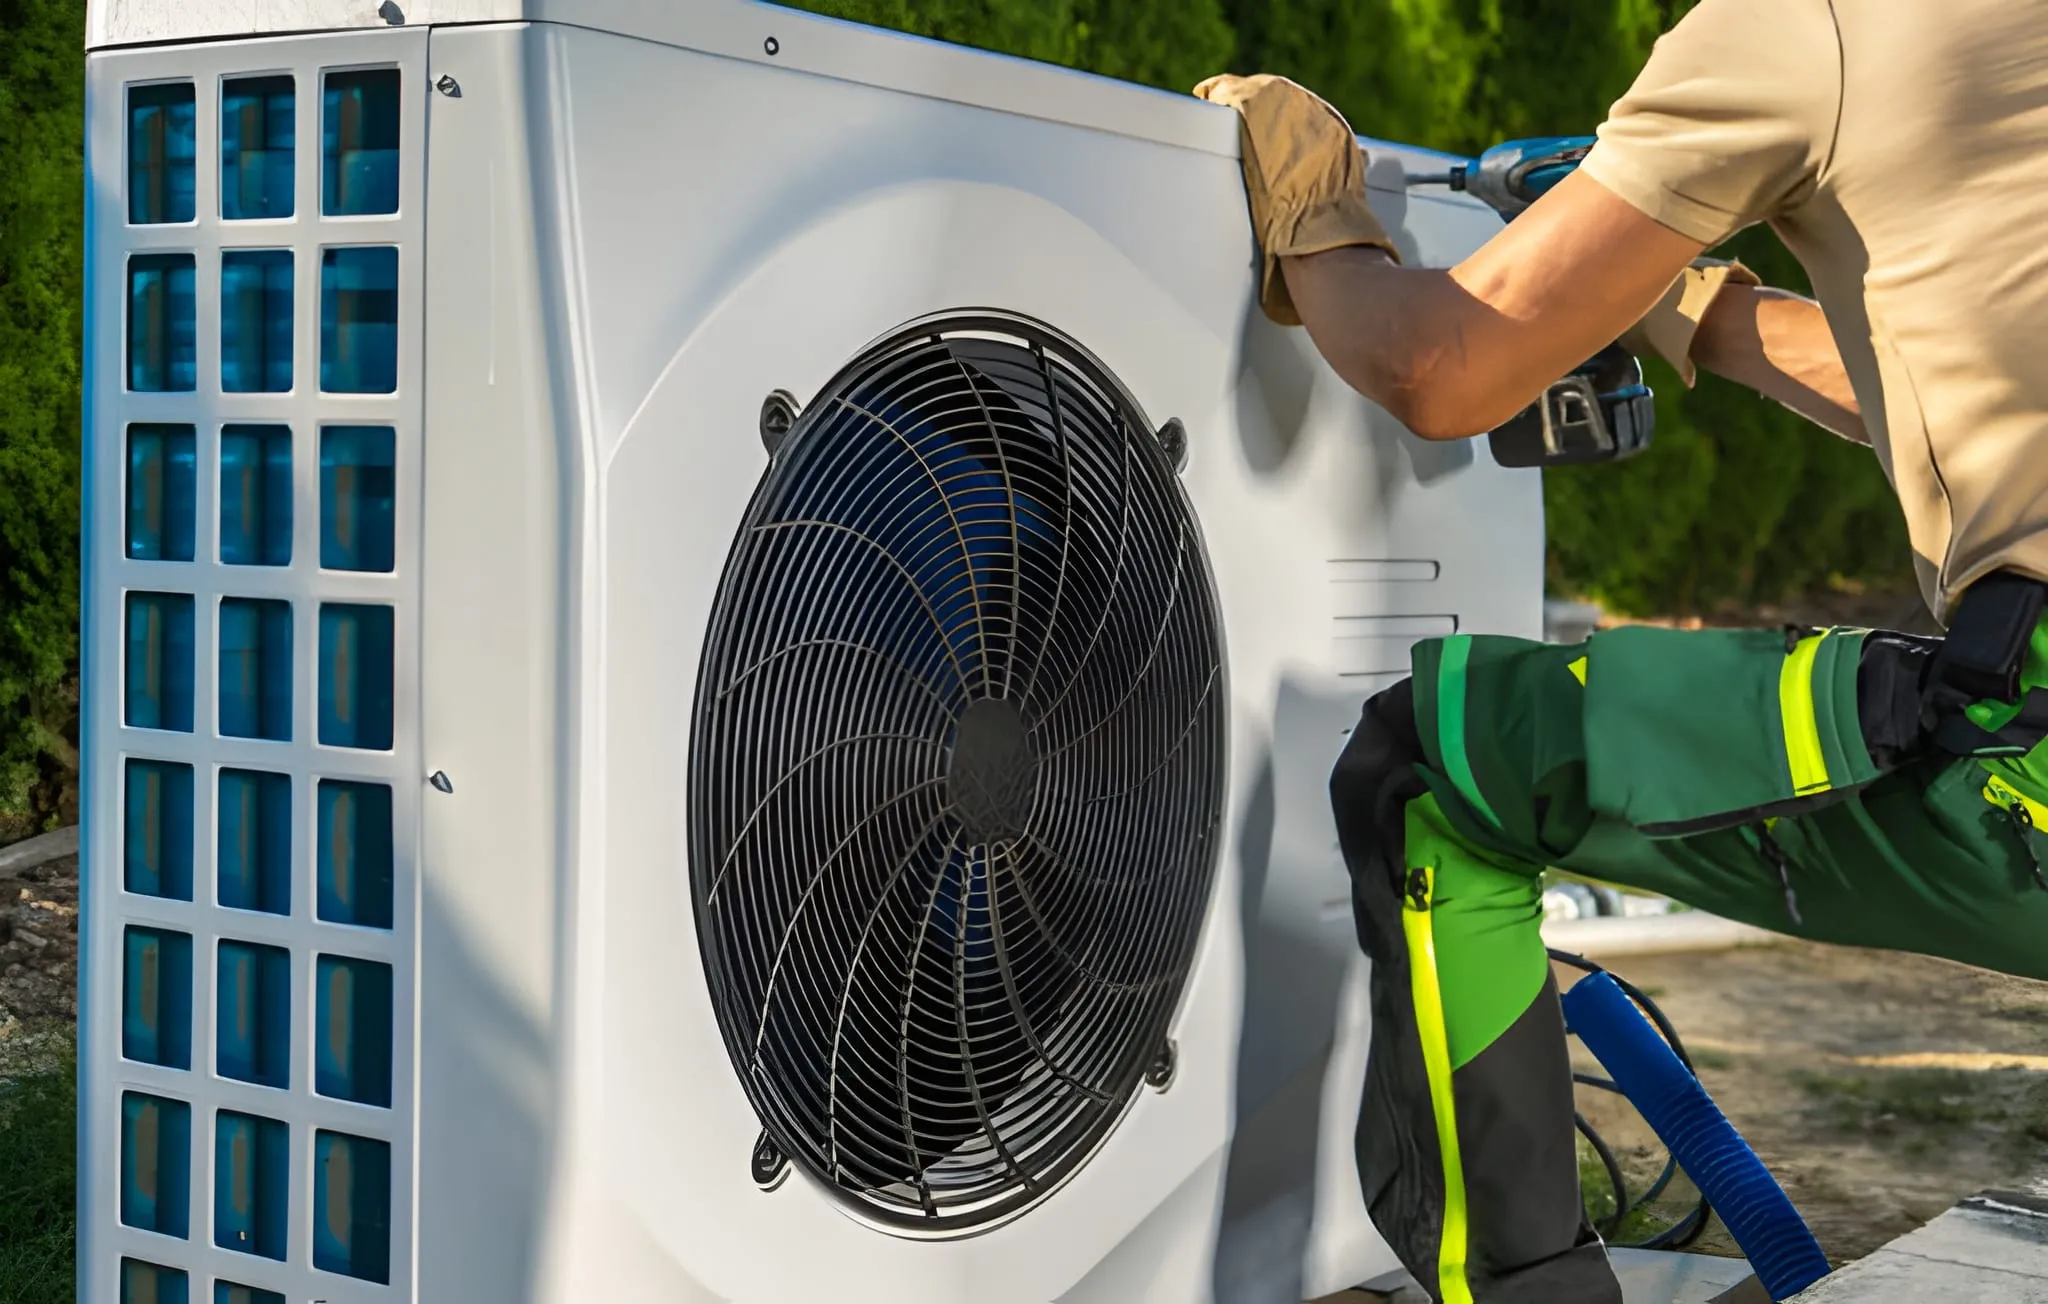
When your heat pump struggles in the middle of a Maryland season, you need clear answers and reliable fixes. Heat pump repair in Stevensville, MD focuses on restoring comfort quickly while protecting equipment from coastal influences like high humidity, salt air corrosion, and wide seasonal swings.
Why timely heat pump repair matters in Stevensville
Stevensville’s proximity to the Chesapeake Bay means homes face higher humidity and occasional salt exposure. Those conditions accelerate coil corrosion, electrical contact degradation, and refrigerant line wear. Left unaddressed, small issues become expensive failures, reduce efficiency, and can allow moisture-related indoor air problems. Prompt repair restores performance, lowers energy use, and extends equipment life in this coastal environment.
Common heat pump problems in Stevensville homes
- No heating or cooling: Unit runs but fails to produce conditioned air. Often caused by compressor issues, refrigerant leaks, or control board failures.
- Short cycling or constant running: System turns on and off frequently or never cycles off. Typical causes include failed thermostats, refrigerant imbalance, or airflow restrictions.
- Weak airflow or uneven temperatures: Blocked ducts, failing blower motors, or frozen evaporator coils reduce delivery to rooms.
- Strange noises: Grinding, banging, or hissing point to failing fan motors, loose components, or refrigerant leaks.
- Ice buildup on outdoor unit: Common in shoulder seasons when defrost controls or sensors malfunction.
- Frequent defrost cycles: Excessive cycling indicates sensor or control problems.
- High energy bills: Loss of efficiency due to worn compressors, low refrigerant, or dirty coils.
- Water leaks or pooling near indoor unit: Condensate drain clogs or coil condensation problems.
Diagnostic approach: what technicians check
A professional repair starts with a structured diagnostic to identify root causes, not just symptoms. Typical steps include:
- Visual inspection of outdoor and indoor units for corrosion, damage, and airflow obstructions.
- Check thermostat and control wiring for correct signals and settings.
- Measure refrigerant pressures and superheat/subcooling to identify leaks or charge issues.
- Evaluate electrical components: contactors, capacitors, relays, and control boards.
- Test blower motor and indoor airflow; inspect return and supply ducts.
- Inspect coils for dirt, damage, and corrosion and verify proper defrost operation.
- Run system through heating and cooling cycles while monitoring temperature differentials and cycle times.
Technicians will explain findings in plain terms, outline prioritized repair options, and note any needed parts.
Typical parts and components serviced or replaced
- Compressors and associated mounting hardware
- Refrigerant lines, valves, and leak repairs (with refrigerant recovery and recharge)
- Contactors, capacitors, relays, and circuit boards
- Reversing valves and defrost controls
- Indoor blower motors, belts, and fan assemblies
- Evaporator and condenser coils (cleaning, minor repairs, or replacement)
- Expansion devices and thermostatic components
- Thermostats and sensors
- Condensate drains and pans
Repair timelines and cost factors
Repair timelines depend on complexity and parts availability. Typical expectations:
- Minor electrical fixes, capacitor or contactor replacements: same-day to 24 hours.
- Refrigerant leak location and repair plus recharge: 1 to 2 days, depending on leak severity.
- Compressor replacement or major component swaps: 1 to 3 days, often requiring parts ordering.
- Coil replacement or significant ductwork repairs: 2 to 4 days.
Cost drivers to consider (explained without specific prices):
- Age and make/model of the heat pump — older units often need more labor-intensive repairs.
- Type of failed component — electrical parts are generally quicker and less labor intensive than major mechanical replacements.
- Accessibility — rooftop or tight attic installations add time.
- Need for refrigerant reclamation and specialty parts.
- Local factors like corrosion due to salt air that may require additional replacement of corroded fittings.
Technicians will present repair priority and whether repair or replacement is the more economical long-term option.
Emergency response and availability
Heat pump failures can occur during extreme temperature swings. Emergency service options typically cover:
- After-hours diagnostics for no-heat or no-cool emergencies.
- Temporary measures to maintain comfort while parts are ordered.
- Safety responses for electrical hazards or refrigerant leaks.
Emergency technicians follow safety protocols for refrigerant handling and electrical isolation, minimizing risk to your home.
Warranty and parts information
- Manufacturer warranties often cover major defects for set periods; these are separate from technician labor warranties.
- Repaired components may carry a parts warranty from the supplier or manufacturer; labor warranties are commonly provided for a limited time.
- Using OEM parts preserves original performance and may protect existing manufacturer warranties; aftermarket parts are sometimes used where OEM options are unavailable.
- Technicians should document replaced parts and provide warranty terms in writing.
How to schedule and what to prepare for a service call
When arranging a repair, provide the following to the service provider:
- Heat pump make, model, and approximate age.
- A clear description of symptoms and when they started.
- Any recent maintenance history or prior repairs.
- Location specifics like unit access (ground level, roof, inside closet).
Prepare your home by:
- Clearing access to indoor unit, thermostat, and outdoor unit area.
- Noting any unusual sounds or smells to report to the technician.
- Locating model and serial numbers if available.
On arrival, expect a technician to perform diagnostics, explain findings in plain language, outline repair options and timelines, and identify warranty coverage for parts and labor.
Preventive maintenance and long-term benefits
Regular maintenance reduces emergency repairs and prolongs equipment life. For Stevensville homes, focus on:
- Twice-yearly tune ups: pre-winter and pre-summer inspections to catch corrosion, check refrigerant, and ensure defrost controls work.
- Coil cleaning and protective treatments for outdoor units exposed to salt air.
- Replacing filters quarterly and inspecting condensate drains to prevent backups.
- Upgrading thermostats and controls to improve cycling and efficiency in humid summers.
Benefits include lower energy bills, fewer breakdowns, improved indoor comfort, and extended lifespan of the heat pump.

Service areas